False Corner Chimney Breast Construction for Woodburner using Twinwall Chimney Flue
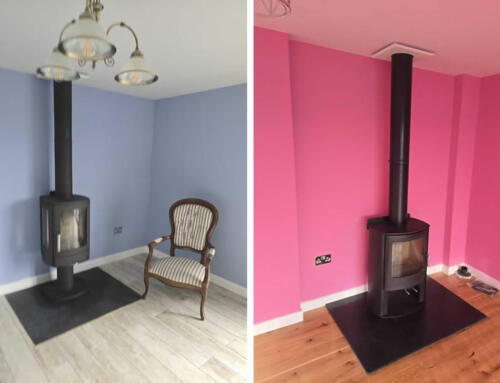
We are often asked to build false chimney breasts in new build properties add character and warmth back into a sterile space.
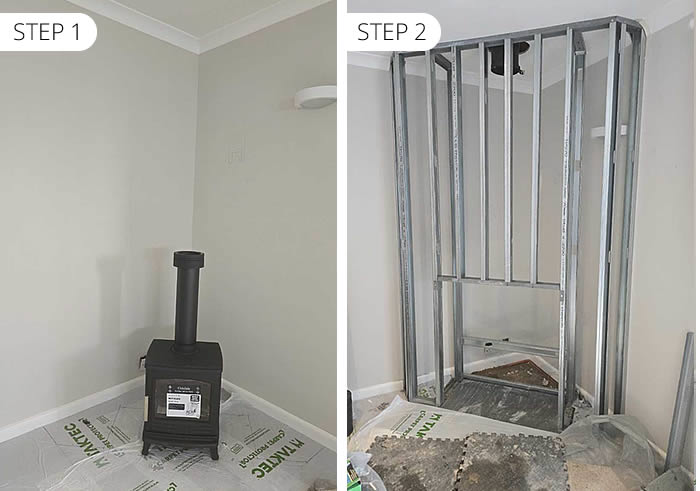
Step 1: Planning a False Corner Chimney Breast for a Woodburner
Take time to consider the position of the woodburner and path of the flue system through your property and how your furniture will be organised in relation to the stove. Every stove has different specifications regarding distances to combustibles such as furniture, so check the stove manual in advance.
Why build a false chimney breast for a woodburner in the corner?
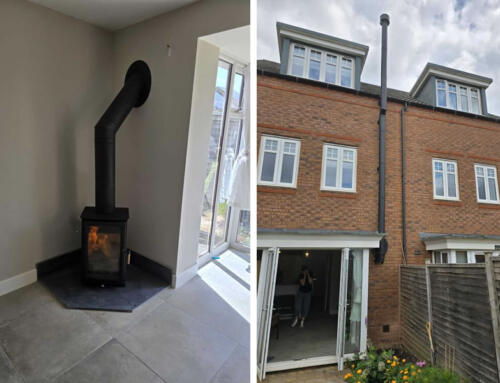
We often construct false chimney breasts in the centre of a wall for symmetry, which also provides alcove space to build book shelves etc. However there are many reasons why a false chimney breast in the corner is also a good position.
- The chimney system system can’t be flue directly upwards through floors above
- The hearth is less of a trip hazard or protrudes into a walkway
- The furniture faces the corner
- The corner is often unused space
Once you have decided on the position of the stove. We offer up the stove and mark our the boundaries of the false chimney breast with tape and mark the position of the flue system on the celling.
Take time to research where pipes and wires may be in the ceiling before committing to cutting a hole for twinwall system. We would always recommed getting a HETAS installer to install the flue system.
Step 2: Planning a Corner False Chimney Breast for a Woodburner
Once the twinwall chimney flue system is installed we can then remove the stove and beginning construction of the corner false chimney breast. The metal U stud and C stud can be purchased from most building supplies, such as Wickes and Travis Perkins and can be screwed together with tek screws.
Tip: Don’t make the legs of the chimney breast too skinny. I make them at least 225mm each side and recess height wise about 900-1000mm.
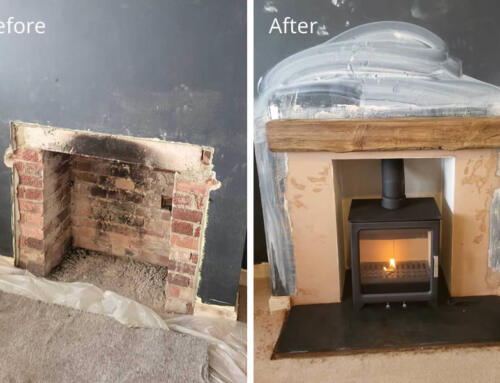
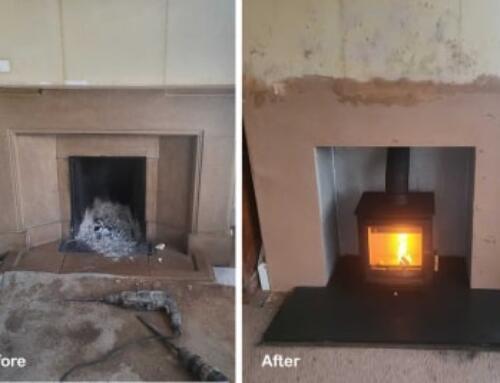
At this stage we add any structural supports for holding up TV brackets, mirrors or oak effect ceramic mantels as displayed on this example. We also fireboard the reverse of the stud work to reduce heat to the TV and we fill the bottom of the voids between the stud work with Rockwall. The twinwall system has a 50mm distance to combustibles,
Step 3: Adding slate hearth and fireboard
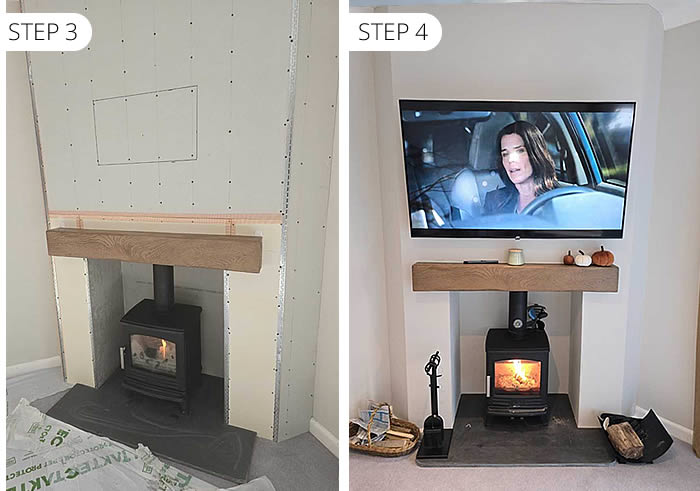
The bottom halve of the chimney breast is constructed in 2 types of fireboard. The panels on the front are fireboard from Jewsons as it can be plastered without preparation with PVA glue, whilst the fireboard inside the recess is from Travis Perkings with a harder wearing concreate construction (this doesn’t get plastered, just paint).
The Brazillian slate hearth is supplied by us and cut to fit into a T-shape and bedded on sand and cement after the carpet is removed.
Step 4: Plastering the chimney breast
The slate hearth has had the corners curved to avoid any sharp edges, which we then oil. We would normally plaster the chimney breast to finish allowing the customer to paint with any emulsion pain.
Leave plaster to dry for a week before following the stoves commissioning process, see manual for details.
Feel free to call 07715104420 for a quick free quote on corner false chimney breast construction with woodburner installation.


